On September 12th at 1:00 PM my club members (the Cherish Chicks) will be getting together to create anywhere from 2 to 6 beautiful pages from That's Amore level 2 paper pack (x7107B) and stickease (x7107c). We create these pages (and many more) from a program called Workshop on the GO that CTMH has put together to help make scrapbooking faster, simpler, easier. At our Cherish Chicks bi-monthly workshops we will create two page layouts (sometimes 6 depending on time) that have been provided in the workshop guide. If you are interested in attending my workshop you will get a kit for 2 pages for $6.00 or a kit for 6 pages for $15.00. These kits will have all the paper for you plus the embellishments you will need to complete the pages. You will also have a chance to use my stamps and inks. Contact me today if you would like to create these layouts, attend the workshop or for more information about my club.
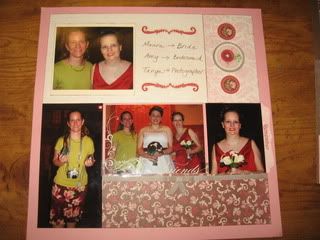
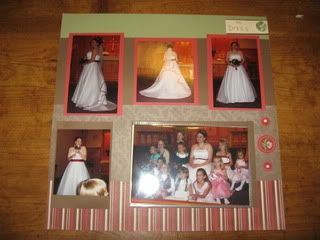
Below you will see my six pages I have created from the That's Amore workshop guide. The pictures I have on my layouts are from my friend's wedding. Maura, Amy and I are friends from college...it is always good to see friends!! Especially when those friends live so far away! I was the person in charge of the camera as you can see in one of the pictures! :) I had my camera, Amy's camera AND Maura's camera and was snapping away with all three of them. I took so many pictures on Maura's camera that I ran out of space on the scan disk--which means she didn't have alot of pictures from her second reception. Opps!! But to my defense I was told they had a second scandisk but they never brought it to the wedding!! Enjoy the pictures and layouts!
Page one and two-
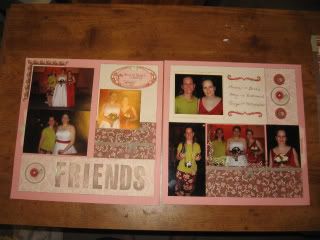
The measurements and directions for this layout can only found in the That's Amore workshop guide.
Close up of page one-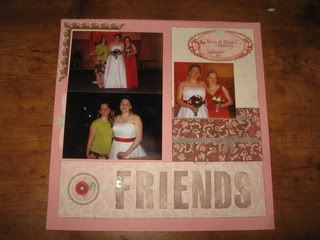
Pullout journal on page one using edge anchors to pull out journal-
Close up of the "F" in FRIENDS using edge anchors to decorate "F" (this is the same way the "K" is on page 3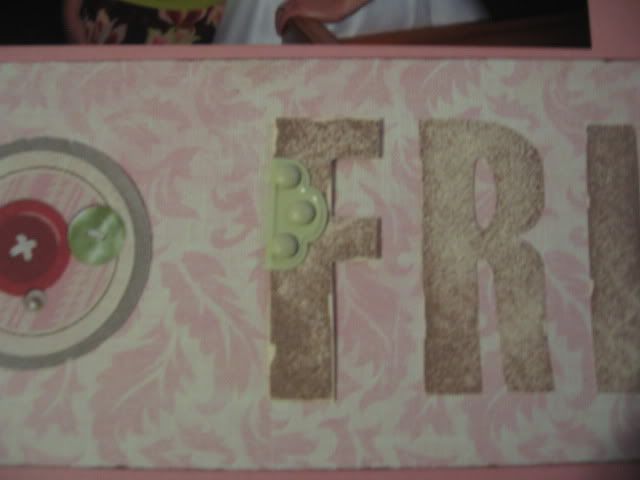
Close up of page two-
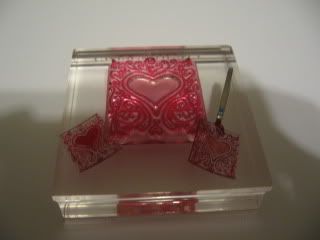
Close up of new product in fall/winter catalog-- Top Coat Framed In: These are photo sized (4'"x 6") transparencies with unqiue printed designs. You will get 6 colonial white and 6 dasiy white top coats. What a great way to decorate your page especially on this page with great friends posing!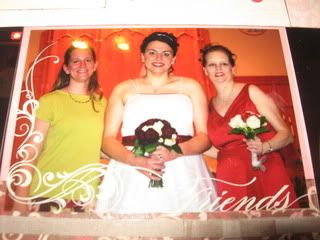
What it looks like without the picture--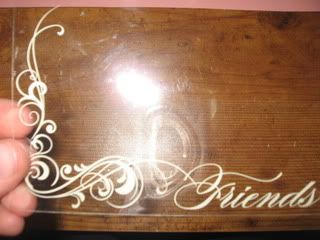
Pages 3 and 4--
Layout guide found in Imagine: Supporting Cast
Close up of page 3 --
I covered up my friend's last name for privacy!-- but the detail of the "K" is the same on page 1 with the "F"
Close up of page 4--
Pages 5 and 6--

Close up of page 5--

Details of the flowers- I used flower die cuts from the two scrapbook stores here in town while I was cropping there. I also add the bitty flowers and brads from the Shades of Chocoloate mini- meldey accents.


Close up of page 6--
Close up of flip flap memory protectors-- I also did this on page 4. This flip flap memory protector is a great way to add more pictures to a page. Not only that but another place to add extra journaling if needed!!

Supplies Used- All Close To My Heart unless directed:
That's Amore Workshop Guide
That's Amore Level 2 Paper Packet X7107B
Colors used in That's Amore: Tulip, Chocolate, Vanilla Cream, Blush, Garden Green
That's Amore Level 2 My Stickease Assortment X7107C
Imagine 9030
Chocolate Exclusive Inks Pad X211
Chocolate Exclusive Inks Marker Z2311
Love Always Journaling Spots X1407
Edge Ancors Heritage Collection Z1288
Rustic Alphabet E1002
Top Coat Framed In Z1211
Flip Flap Memory Protectors z4114
Mini- Medley Accents Shades of Chocolate Z1037
Flower Diecuts from area scrapbook stores
If you like what you saw please contact me by leaving me a message or emailing me to find out more about you can join the workshop or get a kit to complete these pages. Hope to see you there!!
BTW Happy early Anniversary to Paul and Maura! :)


